Fixing a broken fishing rod can seem daunting, but with the right approach, it’s entirely possible to restore it to full functionality. Whether you’re an experienced angler or a beginner, knowing how to fix a broken fishing rod is a valuable skill that can save you both time and money. This guide provides essential tips to help you identify the damage, choose the right materials, and successfully repair your rod. By following these steps, you’ll be back on the water in no time, enjoying your favorite pastime without the hassle of replacing expensive equipment. This article covers everything you need to know about how to fix a broken fishing rod, from assessing the damage to performing the repairs at home. Read on to learn the step-by-step process to ensure your fishing rod is in top shape for your next outing.

How to Identify the Damage on Your Fishing Rod
Types of Damage to Look Out For
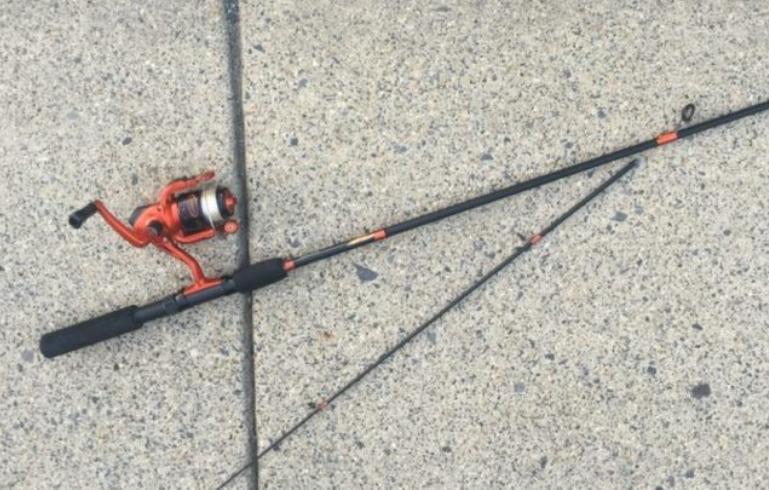
The most common types of damage include broken tips, cracked rod blanks, and detached or misaligned guides. A broken tip is the easiest to spot, while a cracked blank might require closer inspection. Loose or detached guides can also affect your rod’s performance, causing line friction or even breakage. Identifying these issues early can prevent further damage. Knowing the specific type of damage is crucial because it determines the repair method you’ll use. For example, a simple crack might only require epoxy, whereas a broken tip might need a replacement. Understanding the damage also helps you decide whether a DIY fix is feasible or if professional help is necessary.
How to Assess the Severity of the Damage
Assessing the severity of the damage involves determining whether it’s a minor issue you can repair at home or something that requires professional attention. If the break is clean and the rod material isn’t splintered, it’s usually fixable. However, severe cracks or multiple breaks might compromise the rod’s integrity, making it unsafe to use even after repair. When assessing the damage, also consider the location of the break. A break near the tip is easier to fix than one near the handle. Evaluate the material of the rod as well; some materials are easier to repair than others. This assessment will guide you in choosing the appropriate repair method and tools.
Tools Needed for the Repair
To fix a broken fishing rod, gather the necessary tools, including epoxy glue, rod tip repair kits, sandpaper, and thread wraps. These tools will help you make precise repairs, ensuring your rod functions as well as before. Having the right tools on hand can make the repair process smoother and more effective. For a simple repair, you might also need a heat gun or lighter to remove old glue and a sharp blade to clean up the break area. It’s important to have everything ready before you start the repair to avoid interruptions. Additionally, having high-quality materials will ensure a more durable fix, making your rod reliable for future fishing trips.
Can You Fix a Broken Fishing Rod at Home?
Simple DIY Methods to Fix a Broken Fishing Rod
For minor breaks, you can use a rod tip repair kit or epoxy glue to reattach the broken parts. If the rod tip is broken, simply remove the old tip, apply a small amount of epoxy to the new tip, and slide it onto the rod. Allow it to dry completely before use. This method works well for clean breaks and is relatively easy to perform. Another simple method involves using a fiberglass sleeve to cover the break area, providing extra strength to the repaired section. This technique is particularly effective for mid-rod breaks. Always ensure that the repaired area is smooth and free of any sharp edges that could cut the fishing line.
Step-by-Step Guide to Repairing a Broken Rod
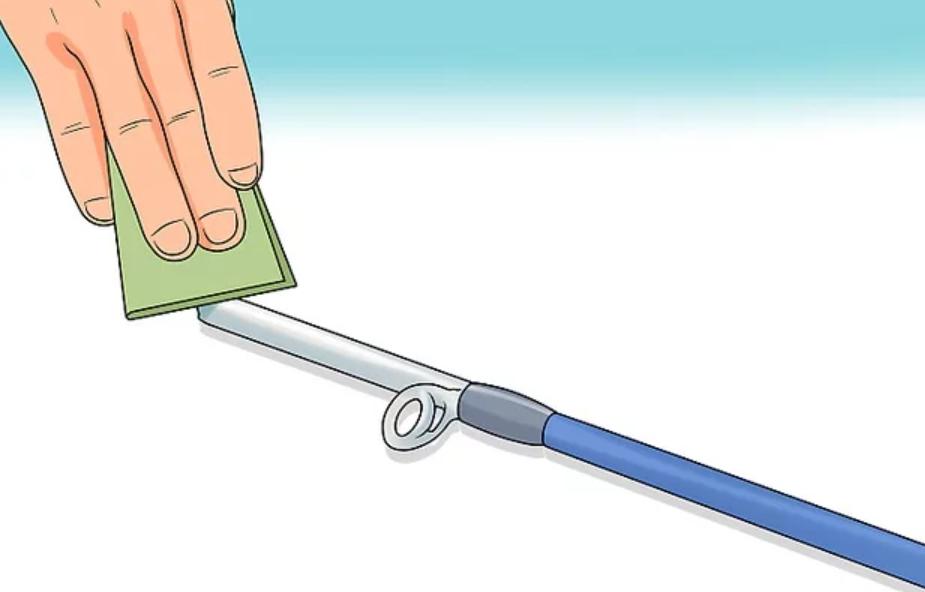
Start by cleaning the damaged area with sandpaper to ensure the adhesive bonds properly. Apply epoxy to both the rod and the broken piece. Align the pieces carefully, ensuring they match up perfectly. Once aligned, hold them in place until the epoxy sets. For added strength, wrap the area with thread and apply another layer of epoxy. Allow the repair to cure for at least 24 hours before using the rod. This step-by-step process ensures a strong and durable repair. If the break is near the handle, consider adding a rod sleeve to reinforce the area. This method works best for rods made of fiberglass or carbon fiber.

When to Seek Professional Help
If the damage is extensive, such as multiple breaks or a shattered blank, it’s best to seek professional help. Professionals have specialized tools and experience to repair complex damages that might be beyond DIY capabilities. They can also ensure the rod’s integrity is fully restored, which is crucial for safety. If the rod is expensive or holds sentimental value, professional repair might be the better option to ensure a high-quality fix. Additionally, if you’re unsure about the repair process or lack the necessary tools, it’s safer to have a professional handle the job. This way, you can avoid making the damage worse or compromising the rod’s performance.
What Are the Best Materials for Repairing a Fishing Rod?
Choosing the Right Materials for Your Rod Type
The materials you choose for repairing your fishing rod should match the rod’s original construction. For example, if your rod is made of fiberglass, use fiberglass sleeves or epoxy that bonds well with fiberglass. The same goes for carbon fiber rods, which require compatible materials to maintain their strength and flexibility. Choosing the right materials is essential for a successful repair, as it ensures the rod will perform as expected after the fix. Using incompatible materials can lead to weak spots in the rod, which could result in further breaks. Always consult the rod manufacturer’s guidelines if possible, or seek advice from a professional to ensure you’re using the correct materials.
Commonly Used Materials for Rod Repair
Common materials for repairing fishing rods include epoxy resin, fiberglass cloth, carbon fiber wraps, and rod tip replacements. Epoxy resin is a versatile adhesive that bonds well with most rod materials, providing a strong and durable fix. Fiberglass cloth can be used to reinforce cracked blanks, while carbon fiber wraps offer extra strength for high-stress areas. Rod tip replacements are readily available and easy to install, making them a popular choice for fixing broken tips. These materials are widely available and relatively inexpensive, making DIY repairs accessible to most anglers. However, it’s important to choose high-quality materials to ensure the repair holds up under pressure. Low-quality materials might save money initially but could lead to repeated breaks and frustration.
Conclusion
Learning how to fix a broken fishing rod is an essential skill for any angler. By understanding the types of damage, choosing the right materials, and following proper repair techniques, you can extend the life of your fishing rod and avoid the expense of buying a new one. Whether you choose to fix the rod yourself or seek professional help, it’s important to take action quickly to prevent further damage. Regular maintenance and careful handling will also go a long way in ensuring your rod remains in top condition. With these tips, you’ll be well-prepared to tackle any rod repair and keep enjoying your fishing adventures.
FAQ
Can I permanently fix a broken fishing rod at home?
Yes, you can permanently fix a broken fishing rod at home if the damage is minor and you use the right materials and techniques.
What tools do I need to repair a fishing rod?
You’ll need epoxy glue, sandpaper, thread wraps, and possibly a rod tip repair kit depending on the type of damage.
How do I know if my fishing rod is too damaged to repair?
If the rod has multiple breaks, severe cracks, or a shattered blank, it may be too damaged to repair safely, and professional help is advised.
