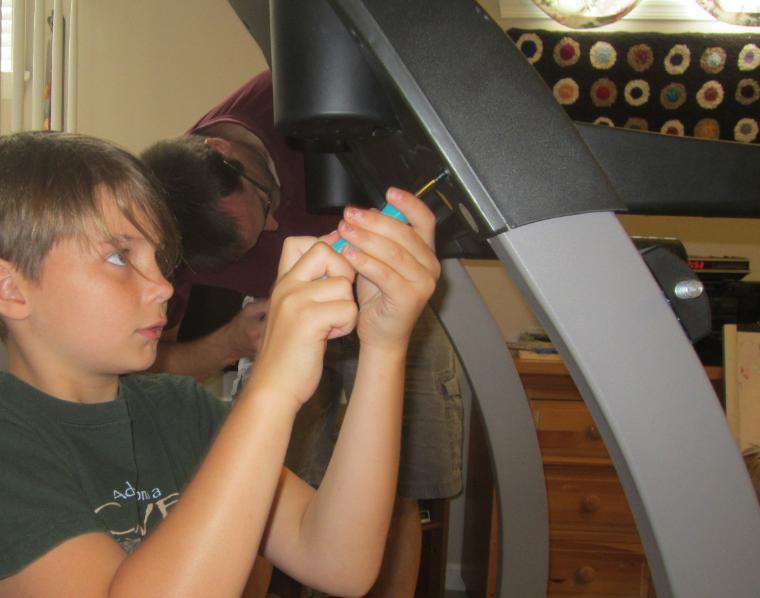
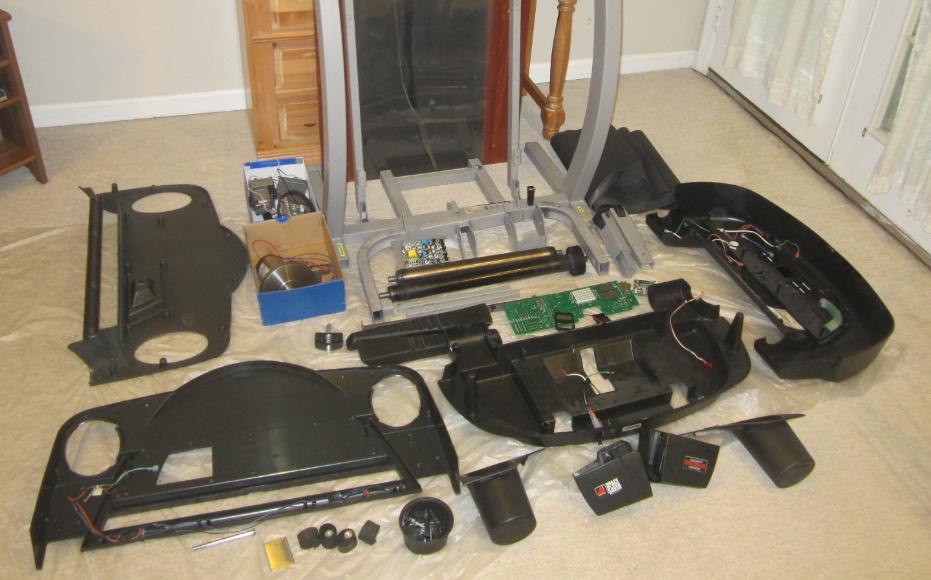
Disassembling a treadmill is often necessary when you need to move or store it, ensuring it stays functional and undamaged. Knowing how to disassemble a treadmill properly can make a big difference in how easy the process is and how well the treadmill functions afterward. Whether you’re moving to a new home or just need to clear space, following the correct steps will save you time and prevent costly mistakes. This guide provides clear instructions on how to take apart your treadmill safely and efficiently. We’ll cover everything from the tools you’ll need to the specific steps for disassembling the console, handrails, and other key parts. By following these steps, you’ll avoid common errors and ensure that your treadmill is ready to be reassembled whenever you need it.

What Tools Do You Need to Disassemble a Treadmill?
Essential Tools Checklist
To disassemble a treadmill, you’ll need a set of Allen wrenches, a Phillips screwdriver, and a flathead screwdriver. These tools are essential for removing screws and bolts that hold the treadmill together. Additionally, having a wrench set on hand will help with any larger bolts that may require extra force to loosen. A small container is also useful for keeping screws, bolts, and other small parts organized as you disassemble the machine. This prevents any crucial components from being misplaced during the process. It’s also wise to have a flashlight handy, especially if you’re working in a dimly lit area, to ensure you can see and reach all screws and bolts easily. Preparing these tools in advance will streamline the disassembly process and help avoid delays or complications.
Safety Precautions Before You Begin
Before you begin disassembling your treadmill, it’s important to take some basic safety precautions. Start by unplugging the treadmill from the electrical outlet to avoid any risk of electric shock. Wear protective gloves to shield your hands from sharp edges or small parts that could cause injury. Make sure the area around the treadmill is clear of obstacles to give yourself plenty of space to work and move around. If the treadmill is particularly heavy or bulky, consider enlisting the help of another person to assist with lifting and moving the parts. Additionally, make sure you have a sturdy surface nearby where you can place the disassembled components, keeping them safe and organized until you’re ready to reassemble the machine. Following these precautions will help ensure that the disassembly process is both safe and efficient.
Step-by-Step Guide: How to Disassemble a Treadmill
Removing the Console
The first step in disassembling a treadmill is to remove the console, which is typically the most delicate and intricate part of the machine. Begin by carefully disconnecting any wires or cables that link the console to the rest of the treadmill. These cables are often thin and fragile, so handle them with care to avoid any damage. Next, use an Allen wrench to unscrew the bolts that secure the console to the treadmill’s frame. Once all the screws are removed, gently lift the console off the frame, making sure to support it properly to prevent any strain on the wires or screen. Place the console in a safe, flat area where it won’t be at risk of falling or being damaged. Removing the console first helps to reduce the weight and makes the subsequent disassembly steps easier.
Detaching the Handrails
Once the console is safely removed, the next step is to detach the handrails. The handrails are typically secured to the base of the treadmill with bolts, which can be loosened using a wrench. Start by locating the bolts at the base of each handrail. Use the wrench to unscrew these bolts, taking care to support the handrails as you remove them to prevent them from falling or causing injury. If the handrails are connected to the console via wires, be sure to disconnect these as well before fully removing the handrails. After the bolts are removed, gently pull the handrails away from the treadmill. Be cautious of any remaining attachments or wires that may still be connected. Once detached, place the handrails in a safe location, ensuring they are not at risk of getting knocked over or damaged during the rest of the disassembly process.

How to Disassemble a Treadmill Without Damaging Parts
Common Mistakes to Avoid
Disassembling a treadmill without causing damage requires careful attention to detail. One of the most common mistakes is applying too much force when removing screws or bolts, which can strip the threads and make reassembly difficult. To avoid this, always use the correct size tool for each fastener and apply steady, even pressure when loosening them. Another mistake is failing to label or organize the parts as you remove them. It’s easy to lose track of small screws or forget where certain components go, so keep parts in a labeled container or use bags to separate them. Additionally, avoid yanking or pulling on wires connected to the console or motor; these should be gently disconnected to prevent damage. By staying organized and being gentle with the components, you’ll make the reassembly process much smoother and prevent any unintended damage to your treadmill.
Tips for Protecting Electrical Components
When disassembling a treadmill, special care should be taken to protect the electrical components. Start by ensuring that the treadmill is completely powered off and unplugged. This eliminates the risk of electric shock and prevents any short circuits that could damage the machine’s internal electronics. When disconnecting wires from the console or motor, do so carefully to avoid pulling on the wires themselves; instead, grip the connectors and gently pull them apart. It’s also a good idea to wrap any exposed wiring or connectors with electrical tape to prevent dust or debris from getting inside. Store these electrical components in a dry, safe place away from heavy items that could crush or damage them. Additionally, avoid placing any weight or pressure on the console screen or motor during disassembly, as these parts are particularly sensitive. Following these tips will help ensure that your treadmill’s electrical components remain intact and functional during and after disassembly.
Conclusion
Disassembling a treadmill for moving or storage might seem like a challenging task, but with the right approach and tools, it can be done efficiently and safely. Knowing how to disassemble a treadmill properly ensures that your equipment remains in good condition, ready for reassembly whenever you need it. By following the step-by-step guide provided, you’ll be able to take apart the treadmill’s key components without causing any damage, making the process of moving or storing your treadmill much easier. Whether you choose to disassemble your treadmill entirely or move it intact, taking the time to plan and execute the process carefully will help preserve the lifespan of your treadmill and make your move or storage experience more straightforward.
FAQ
1. Can I disassemble a treadmill by myself?
Yes, you can disassemble a treadmill by yourself, but it’s recommended to have assistance, especially for lifting heavier parts. Some components, like the console and deck, can be bulky and difficult to manage alone. If you’re confident in your ability to handle the tools and steps involved, you can complete the disassembly on your own. However, having an extra set of hands can make the process faster and safer.
2. How long does it take to disassemble a treadmill?
The time it takes to disassemble a treadmill depends on your familiarity with the process and the specific model of your treadmill. On average, it can take anywhere from 30 minutes to an hour. More complex models with additional features may require extra time to carefully remove all components without causing damage. It’s important to set aside enough time to complete the task without rushing, as careful disassembly is key to avoiding mistakes.
3. Do all treadmills require the same disassembly process?
No, not all treadmills require the same disassembly process. The steps can vary depending on the brand, model, and design of the treadmill. Some treadmills may have additional features or components that need to be removed differently. It’s essential to consult the manufacturer’s manual or guide specific to your treadmill model to ensure you’re following the correct disassembly steps. This will help prevent damage and ensure that you can reassemble the treadmill correctly later on.
