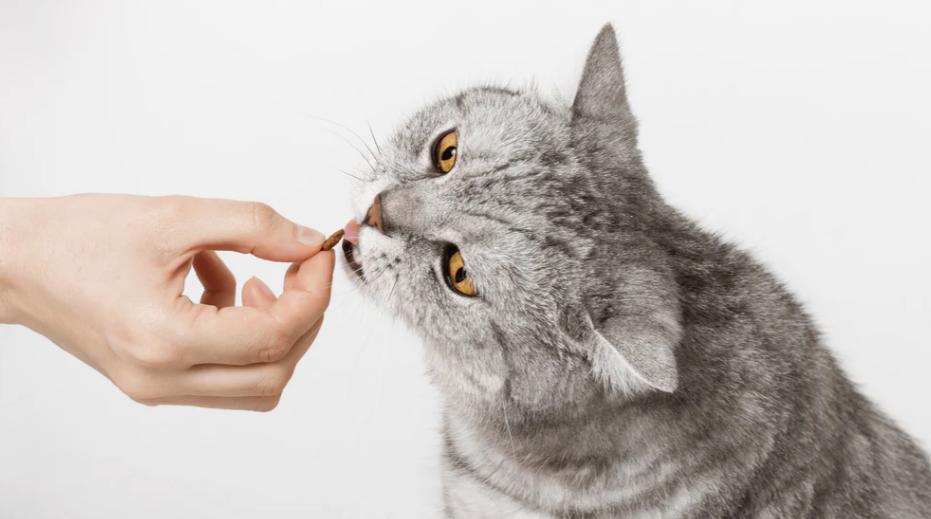
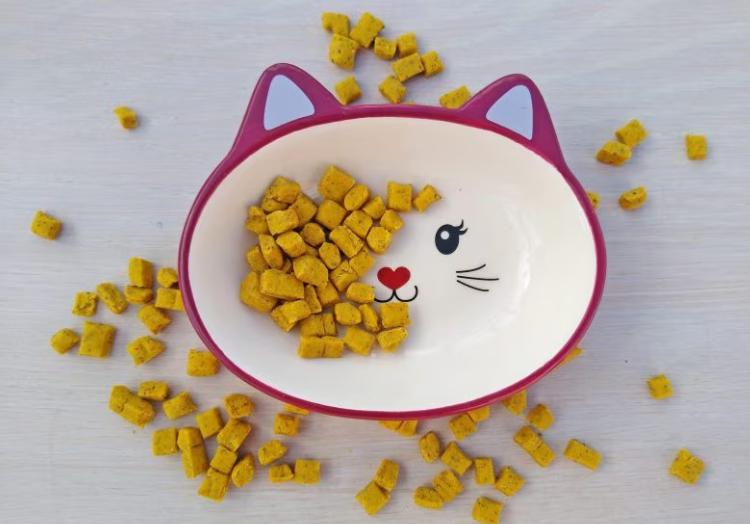
Homemade cat treats are a fantastic way to ensure your feline friend gets healthy and tasty snacks. Learning how to make cat treats with just five ingredients allows you to whip up nutritious snacks right from your kitchen. Whether you’re looking to avoid preservatives found in store-bought treats or want more control over your cat’s diet, making your own treats is the perfect solution. This guide will walk you through everything you need to know—from selecting safe ingredients to preparing delicious treats and storing them properly.

What Ingredients Do You Need to Make Cat Treats?
Selecting the right ingredients is the first step to making homemade cat treats. It’s important to choose items that are not only nutritious but also safe for your cat.
Common Household Ingredients for Cat Treats
Creating cat treats doesn’t require hard-to-find items. Some of the best ingredients may already be in your pantry. Chicken, eggs, and tuna are common protein-rich options. You can also use pumpkin, oats, or catnip, which provide fiber and flavor that cats love. Keep in mind that the goal is to use ingredients that are both nutritious and safe for cats.
Choosing Safe and Nutritious Options
Cats have different nutritional needs than humans, so it’s crucial to pick ingredients that are safe. High-protein ingredients like chicken and tuna are ideal, while vegetables like pumpkin offer fiber. Always avoid using ingredients harmful to cats, such as onions, garlic, or any artificial sweeteners. Opt for natural, whole foods that promote your cat’s overall health.
How to Make Cat Treats: Step-by-Step Guide
Once you have gathered the ingredients, it’s time to start making the cat treats. Follow these steps carefully to ensure a smooth process and delicious results.
Step 1: Measure and Mix the Ingredients
For this recipe, gather these five ingredients: 1 cup of cooked chicken, 1 egg, ½ cup of oat flour, 1 tablespoon of pumpkin puree, and a pinch of catnip. These ingredients not only provide a good balance of protein, fiber, and flavor but are also easy on your cat’s digestive system. Combine the cooked chicken, egg, oat flour, pumpkin puree, and catnip in a large mixing bowl. It’s essential to thoroughly mix the ingredients to ensure the flavors are evenly distributed and the dough forms a smooth, sticky consistency. If the dough feels too dry, you can add a small amount of water or broth (without added salt) to moisten it. On the other hand, if the dough is too sticky, sprinkle in a little extra oat flour. The goal is to achieve a pliable dough that holds its shape.
Step 2: Shape the Treats
Once the dough is ready, it’s time to shape the treats. Roll the dough into small, bite-sized balls, making sure each one is around the size of a marble. This ensures that your cat can easily handle the treat without the risk of choking. If you prefer a bit of creativity, you can also flatten the dough and use small cookie cutters to create fun shapes, such as fish, hearts, or stars. This adds an element of fun, especially if you’re making the treats as a gift for other cat owners or celebrating a special occasion like your cat’s birthday. When shaping the treats, keep in mind that uniformity in size ensures even cooking, which prevents under- or overbaking. You want the treats to be small enough for a quick snack but substantial enough to offer a satisfying chew for your cat.
Step 3: Baking and Storing the Cat Treats
Preheat your oven to 350°F (175°C). While the oven heats up, line a baking sheet with parchment paper to prevent the treats from sticking and to make cleanup easier. Place the shaped dough on the sheet, ensuring there is a small space between each treat to allow for even cooking.
Bake the treats for about 10-12 minutes, keeping a close eye on them. You’re looking for a golden-brown color that indicates the treats are fully cooked and have a slightly crispy texture on the outside. However, you don’t want them to become too hard, as this could make them difficult for your cat to chew, especially if they are older or have dental issues.
After baking, allow the treats to cool completely before offering them to your cat. Proper cooling ensures the texture firms up without becoming too hard. Once the treats have cooled, store them in an airtight container to keep them fresh. Homemade treats, free from preservatives, typically last about a week at room temperature. For longer storage, you can freeze the treats. Frozen treats can last up to three months and can be thawed as needed. Just be sure to defrost them before serving.
Can You Customize the Recipe for Special Dietary Needs?
If your cat has specific dietary needs, there are several ways to adjust the recipe. Customizing the ingredients can ensure that your cat enjoys a treat that’s both delicious and safe. To further customize these treats, consider adding supplements or vitamins. For instance, adding fish oil can improve your cat’s coat health, while probiotics can aid digestion. Just make sure that any additions are safe and beneficial for cats. If your cat has food allergies, you can easily adjust the recipe to fit their needs. For example, if your cat is allergic to chicken, substitute it with turkey or salmon. If grains are a concern, replace the oat flour with almond or coconut flour. Always consult with your vet before making significant changes to your cat’s diet.
How Long Do Homemade Cat Treats Last?
Once your treats are baked, it’s important to store them properly to ensure they stay fresh. Let’s explore how long these homemade cat treats can last.
Proper Storage Tips for Homemade Treats
To maximize the shelf life of your homemade treats, proper storage is key to keeping them fresh and safe for your cat. Once baked and cooled, store the treats in an airtight container at room temperature. This method will help retain their flavor and texture for up to a week. Be sure to place the container in a cool, dry area away from direct sunlight, as heat and moisture can lead to faster spoilage.
If you plan to make a larger batch of treats, consider freezing them for extended storage. Place the treats in a sealed freezer-safe container or bag, and they can last up to three months. When you’re ready to serve them, defrost the treats at room temperature. This ensures they stay fresh without losing their nutritional value. Just make sure not to refreeze once they’ve been thawed, as this can affect their quality.
Homemade treats don’t contain preservatives, so it’s important to know when they’ve gone bad. Look for common signs of spoilage, such as mold, a bad smell, or a change in texture. If you notice any of these, it’s best to discard the treats to avoid making your cat sick.

Conclusion
Making cat treats at home is a rewarding experience that allows you to control the ingredients and create healthy snacks for your pet. With just five simple ingredients, you can learn how to make cat treats that are delicious and nutritious, ensuring your cat will love them. Plus, you have the option to customize the recipe for special dietary needs or add supplements to enhance their health. By following this easy guide, you’ll enjoy making your own treats while keeping your cat happy and healthy.
FAQ
Can I use fish in homemade cat treats?
Yes, fish like tuna or salmon can be a great substitute for chicken in homemade cat treats. Make sure to use plain, cooked fish without added seasonings or oils, as some spices are harmful to cats.
How often should I give my cat homemade treats?
It’s recommended to give your cat homemade treats in moderation. Treats should make up no more than 10% of their daily caloric intake to maintain a balanced diet.
Can I use these treats for training purposes?
Absolutely! Homemade cat treats are excellent for training, especially if they’re made in small, bite-sized pieces. Just make sure the treats are nutritious and given in moderation during training sessions.
