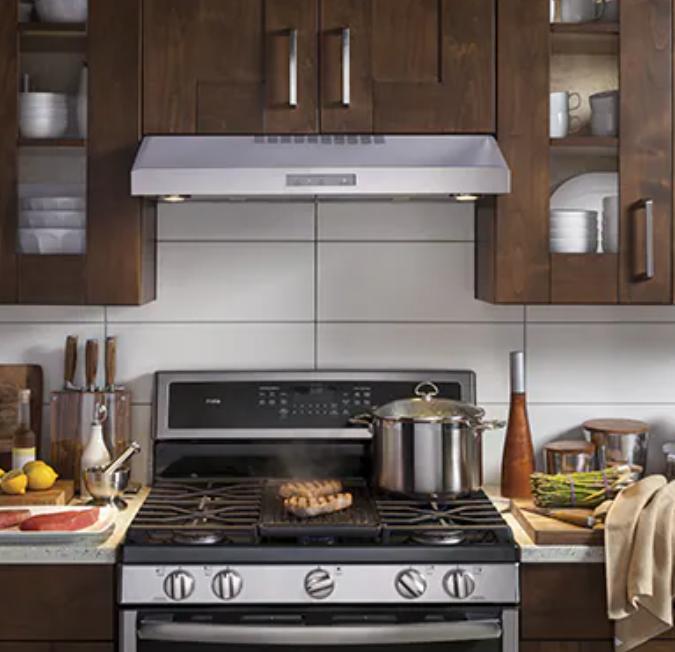
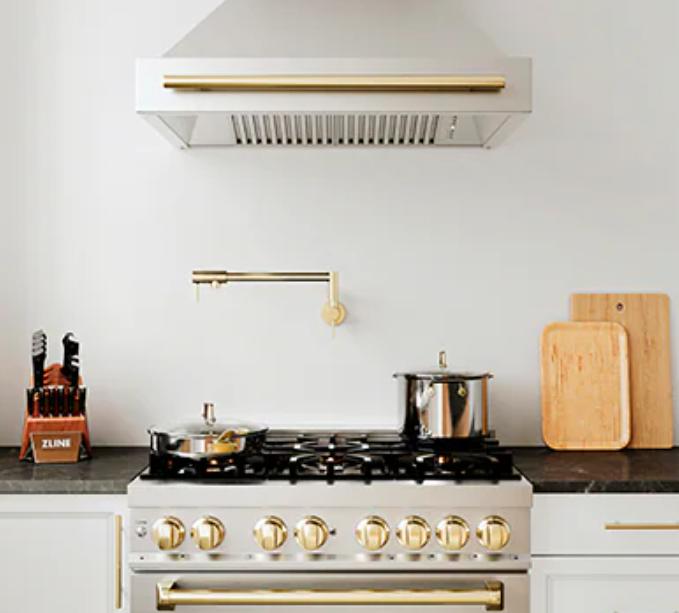
Replacing a range hood might seem overwhelming at first, but with proper guidance, you can easily accomplish it without hiring a professional. Understanding how to replace a range hood without professional help is not just about saving money—it’s about taking control of your home improvement projects. This task requires careful planning, the right tools, and a methodical approach. From gathering the necessary equipment to safely removing the old hood and installing the new one, this guide will walk you through each step in detail.

What Tools Do You Need to Replace a Range Hood?
Essential Tools Checklist
To successfully replace a range hood, you’ll need several key tools. Start with a versatile screwdriver set, including both flathead and Phillips types, to handle various screws during the removal and installation process. A reliable drill with a set of drill bits is necessary for creating pilot holes and securing the new hood in place. Additionally, a tape measure and pencil are essential for accurate measurements and marking where to mount the hood. Wire nuts are used for securing electrical connections, while a voltage tester ensures that there’s no live current when working with the wiring. A stud finder will help you locate studs for secure mounting, and a ladder or step stool will assist you in reaching the installation area safely.
Where to Purchase the Right Tools
You can find the tools needed to replace a range hood at most hardware stores, such as Home Depot or Lowe’s, as well as online retailers like Amazon. When purchasing, focus on quality rather than cost, especially for tools like the voltage tester and drill. High-quality tools not only make the job easier but also last longer, providing value for future projects. If you’re missing any of these tools, consider borrowing them from a friend or renting them from a tool rental service to save on costs. Many hardware stores also offer tool rental services, which can be a budget-friendly option if you don’t plan to use these tools frequently. Having the right tools ready will set you up for a smooth and successful range hood replacement.
How to Safely Remove the Old Range Hood?
Step-by-Step Removal Process
To begin removing the old range hood, start by taking off the filters, which typically pop out or slide out depending on the model. Next, locate and remove the screws that secure the range hood to the wall or cabinet. Keep these screws in a safe place in case you need them later. Carefully disconnect the wiring by loosening the wire nuts and separating the wires—black, white, and ground. Ensure you have a firm grip on the hood as you remove the last screws to prevent it from falling. If your range hood is connected to ductwork, you’ll need to detach this connection carefully to avoid damaging the duct or the surrounding area. Finally, gently pull the range hood away from the wall or cabinet, being cautious not to damage any surfaces or nearby appliances.
Safety Precautions to Follow
Safety is paramount when removing a range hood, especially when dealing with electrical connections. Always start by cutting the power at the circuit breaker and confirming with a voltage tester that the power is off. If the range hood is heavy or awkward to handle, enlist the help of a friend or family member to avoid injury. Wear gloves to protect your hands from sharp edges, and use a sturdy ladder or step stool to reach the hood comfortably and safely. Make sure the area is well-lit so you can see what you’re doing clearly, reducing the risk of mistakes. Taking these safety precautions ensures that you remove the old range hood without any accidents, preparing the space for the new installation.
How to Install the New Range Hood: A Step-by-Step Guide
Preparing the Installation Area
Begin by thoroughly cleaning the area where the new range hood will be installed. Remove any grease, dust, or debris left behind by the old hood to ensure a clean surface for the new installation. Measure the space to verify that the new range hood will fit properly. If adjustments are needed, such as trimming cabinets or adjusting the wall mount, do this now. Check the ductwork to make sure it aligns with the new hood’s exhaust port and is free of obstructions. If necessary, clean the ductwork or make any repairs before proceeding. Proper preparation of the installation area is key to ensuring a smooth installation process and optimal performance of your new range hood.

Mounting the Range Hood Properly
With the installation area ready, use the mounting template provided with your new range hood to mark the locations for the mounting screws on the wall or cabinet. Drill pilot holes at these marks to make it easier to screw in the mounting hardware. Use a stud finder to locate studs behind the wall, as attaching the range hood directly to a stud provides a more secure mount. If you can’t find a stud, use appropriate wall anchors to support the weight of the hood. With the help of a friend or a sturdy prop, hold the range hood in place and fasten the screws through the mounting holes. Ensure that the hood is level and securely attached before moving on to the next step.
Connecting the Ductwork and Electrical Wiring
Once the range hood is securely mounted, reconnect the ductwork to the hood’s exhaust port. Use screws or high-quality duct tape to ensure a tight and secure connection, which prevents leaks and ensures efficient ventilation. Next, connect the electrical wiring by matching the corresponding wires (black to black, white to white, and ground to ground) and securing them with wire nuts. After making the connections, carefully tuck the wires into the electrical box or the range hood’s wiring compartment. Restore power at the circuit breaker and test the hood to ensure it’s functioning correctly.
Common Mistakes to Avoid When Replacing a Range Hood
Overlooking Electrical Safety
One of the most critical mistakes to avoid when replacing a range hood is neglecting electrical safety. Before you start any work, make sure the power to the range hood is completely shut off at the circuit breaker. Use a voltage tester to confirm that there is no electricity running to the hood, as even a small amount of current can cause serious injury. When disconnecting and reconnecting wires, ensure that they are properly secured with wire nuts and that no bare wires are exposed. Failing to follow these safety steps can result in electric shock or create a fire hazard, both of which can have severe consequences. Always prioritize safety to ensure a smooth and incident-free installation.
Incorrect Mounting Techniques
Another common mistake is improper mounting of the range hood. It’s essential to ensure that the hood is level and securely attached to the wall or cabinet. Using a stud finder, locate studs behind the wall to mount the hood directly into them. If studs are not available, use appropriate wall anchors that can support the weight of the hood. Incorrect mounting can lead to the hood becoming loose over time, which not only affects its performance but also poses a safety risk. A poorly mounted range hood may eventually fall, causing damage to your kitchen or injury to anyone nearby. By taking the time to mount the hood correctly, you can avoid these issues and ensure a stable, secure installation.
Conclusion
Knowing how to replace a range hood without professional help empowers you to take on this home improvement task with confidence. By following the steps outlined in this guide, you can gather the right tools, safely remove the old hood, and install the new one without the need for professional assistance. This approach not only saves you money but also allows you to customize your kitchen setup to your liking.
FAQ
How long does it take to replace a range hood?
Replacing a range hood typically takes about 2-4 hours, depending on your experience and the complexity of the installation.
Can I replace a range hood by myself without prior experience?
Yes, you can. With the right tools and a clear guide, even beginners can successfully replace a range hood.
What are the signs that my range hood needs replacement?
Common signs include loud operation, poor ventilation, and visible wear or damage. If your hood no longer performs well, it may be time to replace it.
