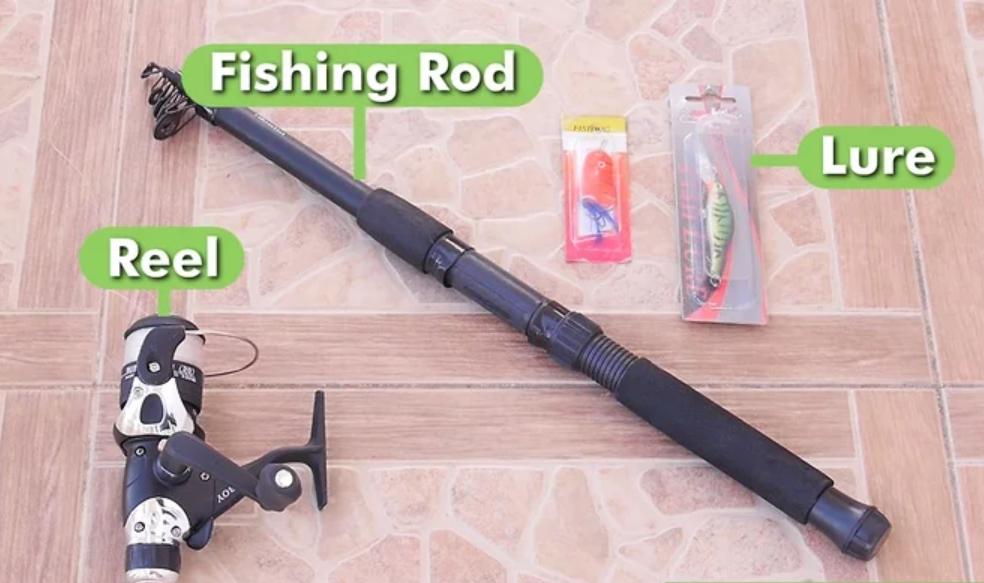
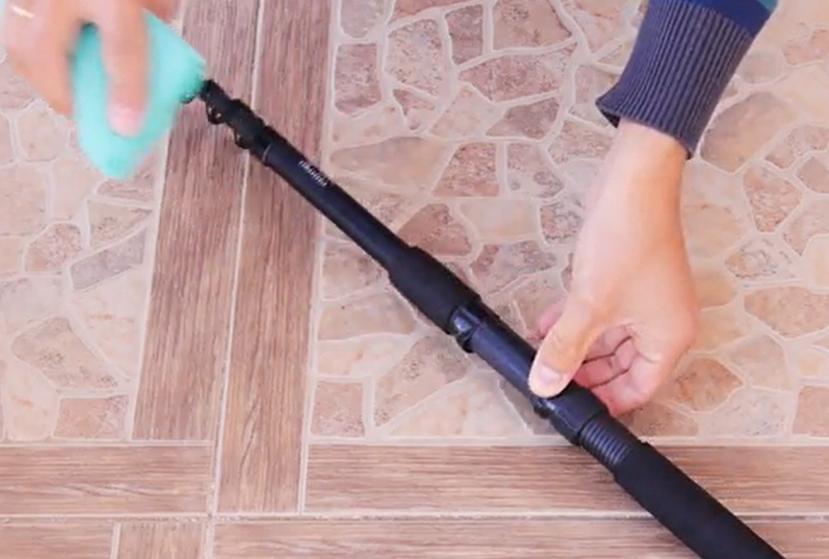
Setting up a fishing rod is one of the most fundamental skills for anyone looking to start fishing. Whether you’re a complete novice or someone looking to refresh their knowledge, understanding the process of setting up your gear is essential for a successful fishing experience. The correct setup not only improves your chances of catching fish but also ensures that your equipment functions efficiently and lasts longer. In this guide, we will break down the steps needed to properly set up a fishing rod, including selecting the right equipment, assembling it, and making necessary adjustments. By following these detailed instructions, you’ll be ready to tackle the water with confidence, avoiding common pitfalls that can hamper your fishing success. Let’s get started on how to set up a fishing rod the right way.

What Do You Need to Set Up a Fishing Rod?
Choosing the Right Rod and Reel
Choosing the right rod and reel is the first step in setting up your fishing rod. The choice largely depends on the type of fishing you plan to do. A spinning rod and reel are ideal for beginners due to their ease of use and versatility. When selecting a rod, consider the power, which indicates the rod’s strength. Medium power rods are a good all-rounder for most fishing conditions. The reel should match the rod’s weight and feel comfortable in your hand. Check the reel’s drag system; it should be smooth and easy to adjust. A quality reel is crucial, as it helps in managing the fishing line and handling the fish once hooked. Pairing the right rod with the appropriate reel ensures a balanced setup, making it easier to cast and reel in your catch.
Selecting the Proper Fishing Line
The fishing line is just as important as the rod and reel. For beginners, a monofilament line is recommended because it is easy to handle and suitable for a variety of fishing environments. The line’s strength, measured in pounds, should be appropriate for the type of fish you are targeting. For instance, a 6-12 pound test line is versatile for general freshwater fishing. Inspect the line for any signs of wear, such as nicks or abrasions, before each use. A damaged line can easily break when under tension, leading to lost fish and frustration. Moreover, make sure the line is compatible with the reel you are using. A properly matched line ensures smooth casting and reduces the chances of tangling, making your fishing experience more enjoyable and successful.
How to Set Up a Fishing Rod Step by Step?
Attaching the Reel to the Rod
Attaching the reel to the rod is a critical step in setting up your fishing rod. Start by locating the reel seat on the rod, which is usually found near the handle. Open the seat by loosening the locking mechanism, then insert the foot of the reel into the seat. Ensure the reel is aligned with the rod’s guides, which are the loops running along the length of the rod. Once the reel is in place, tighten the seat until the reel is securely fastened. It’s important to make sure the reel is tight enough that it won’t move or shift during use, but not so tight that it damages the rod. A well-secured reel provides stability and ensures that the line moves smoothly through the guides when casting or reeling in a fish, which is essential for effective fishing.
Threading the Line Through the Guides
Once the reel is attached, the next step is threading the fishing line through the rod’s guides. Start by opening the bail arm on the reel to allow the line to flow freely. Begin threading at the guide closest to the reel and work your way up to the tip of the rod. Make sure the line passes smoothly through each guide without any twists or knots. This step is crucial for ensuring that your casts are accurate and that the line flows smoothly when a fish is hooked. After threading the line through all the guides, close the bail arm to secure the line. Pull out a few feet of line to prepare for tying the hook or lure. Proper threading prevents line tangling and ensures that your fishing rod performs optimally when casting and reeling in.
Tying the Hook and Adding the Bait
With the line threaded through the guides, the next task is to tie the hook or lure to the end of the line. Use a reliable knot, such as the improved clinch knot, which is strong and easy to tie. To tie the knot, thread the line through the eye of the hook, wrap it around the main line five to seven times, then pass the end through the loop near the hook’s eye and tighten it. Once the knot is secure, trim any excess line to prevent it from snagging. After tying the hook, it’s time to add the bait. The type of bait you use will depend on the fish you are targeting and the fishing environment. Ensure the bait is properly secured on the hook to prevent it from falling off during casting. Properly tying the hook and adding bait is essential for attracting fish and increasing your chances of a successful catch.

How to Adjust Your Fishing Rod for Different Conditions?
Adjusting the Drag on Your Reel
Adjusting the drag on your reel is a critical component in how to set up a fishing rod, particularly when targeting different fish sizes. The drag system controls the resistance on the line when a fish pulls. If the drag is set too tight, the line might snap under pressure; if too loose, the fish may take too much line, making it difficult to reel in. To adjust the drag, locate the drag knob on the top of the reel and turn it to tighten or loosen the resistance. A general rule of thumb is to set the drag to about one-third of the line’s breaking strength. Test the drag by pulling the line out by hand to ensure it offers the right amount of resistance. Adjusting the drag properly will help you manage the fish more effectively and reduce the chances of losing your catch.
Setting Up for Freshwater vs. Saltwater Fishing
Setting up a fishing rod for freshwater fishing differs significantly from saltwater fishing, and understanding these differences is essential for optimizing your fishing experience. In freshwater, you’ll typically use lighter lines and smaller hooks, as freshwater fish are generally smaller. Freshwater rods are also shorter and more flexible, allowing for better control in smaller bodies of water. Conversely, saltwater fishing requires sturdier equipment. You’ll need a heavier line, often a braided line, to handle the larger fish species found in saltwater environments. Saltwater rods are typically longer and more robust, designed to withstand the corrosive effects of saltwater. Additionally, all your gear, including the reel, should be rinsed thoroughly with freshwater after each use to prevent corrosion. Proper setup according to the fishing environment not only enhances your chances of success but also prolongs the life of your fishing gear.
Conclusion
Understanding how to set up a fishing rod is a fundamental skill for any angler, especially beginners. By following the steps outlined in this guide, you’ll be well-prepared to set up your rod correctly and enjoy a successful day of fishing. Remember to choose the right equipment, assemble it carefully, and make necessary adjustments based on the fishing conditions. With practice, these steps will become second nature, allowing you to focus more on the experience and less on the setup. Properly setting up your fishing rod not only improves your chances of catching fish but also enhances your overall enjoyment of the sport.
FAQ
How do you set up a fishing rod for beginners?
Setting up a fishing rod for beginners involves selecting the right rod, reel, and line, attaching the reel, threading the line, and tying on a hook or lure.
What type of fishing rod is best for beginners?
A spinning rod and reel are best for beginners due to their ease of use and versatility across different fishing conditions.
How often should I replace my fishing line?
It’s recommended to replace your fishing line every 6-12 months or sooner if you notice any signs of wear or damage.
