
Testing your water heater thermostat is essential for maintaining an efficient and reliable water heating system. A faulty thermostat can lead to inconsistent water temperatures, higher energy bills, and potential damage to the heater itself. Knowing how to test water heater thermostat can save you time and money by identifying issues early and preventing costly repairs. This guide provides simple steps to help you accurately test both the upper and lower thermostats of your water heater. By following these instructions, you can ensure your water heater operates smoothly and efficiently, providing you with consistent hot water when you need it.
What Tools Do You Need?
Essential Tools for Testing
To test your water heater thermostat, gather a few essential tools. You will need a screwdriver to remove the access panels and a digital multimeter to check the thermostat’s functionality. A non-contact voltage tester is also recommended for safety. Ensure you have a flashlight for better visibility inside the heater, especially if it’s installed in a dimly lit area. Additionally, have a pair of needle-nose pliers and a notepad to jot down your readings. Having these tools on hand will make the process smoother and help you perform accurate tests on your water heater thermostat.
Safety Precautions
Safety is crucial when testing your water heater thermostat. Start by turning off the power to the heater at the circuit breaker to avoid electrical shocks. Use a non-contact voltage tester to confirm that the power is off before proceeding. Wear rubber gloves to protect your hands from potential electrical hazards. Keep the area around the water heater dry and free from any water spills to prevent slipping or accidents. Always follow the manufacturer’s safety guidelines provided in your water heater’s manual. Taking these precautions ensures a safe and effective testing process for your water heater thermostat.
How to Test the Upper Thermostat?
Locating the Upper Thermostat
Begin by locating the upper thermostat on your water heater. Most electric water heaters have two thermostats: one at the top and one at the bottom. The upper thermostat is usually found behind the top access panel on the side of the heater. Use a screwdriver to remove the screws holding the panel in place. Once the panel is removed, you will see the thermostat along with the heating element. Carefully remove any insulation covering the thermostat to gain clear access. Ensure the power is off before touching any components inside the heater.
Steps to Test the Upper Thermostat
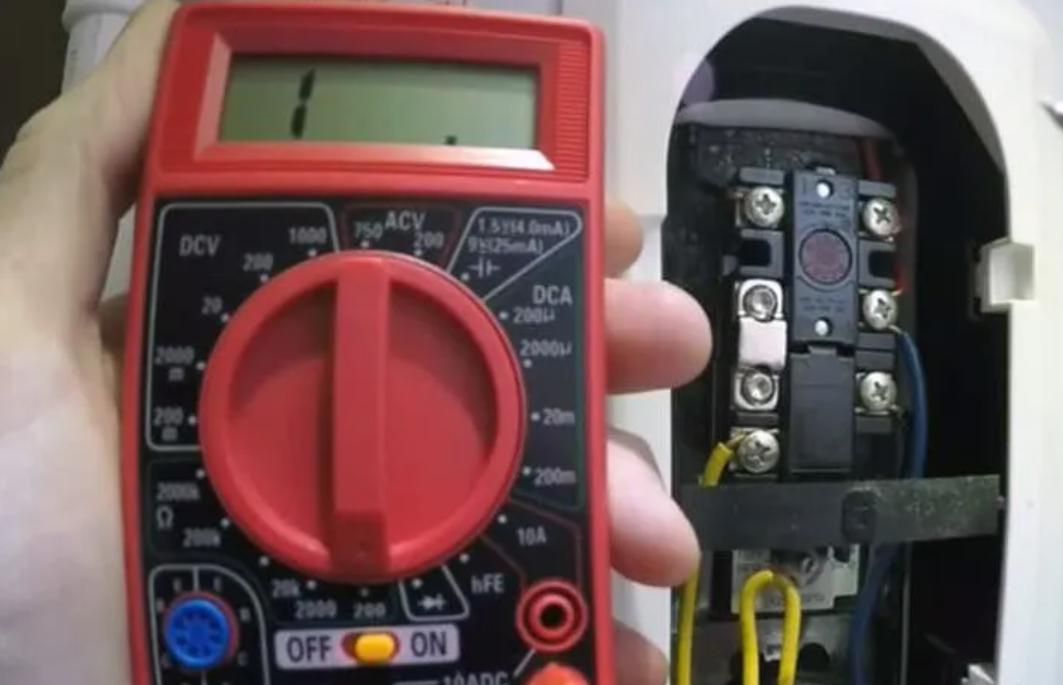
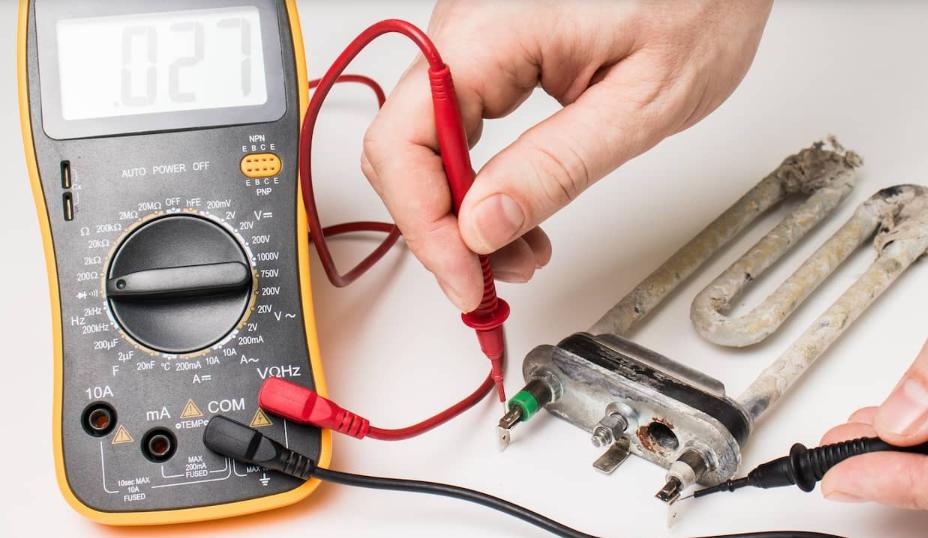
With the upper thermostat exposed, set your digital multimeter to the lowest ohms setting. Place one probe of the multimeter on the terminal where the thermostat connects to the heating element, and the other probe on the thermostat’s other terminal. A reading of zero or close to zero indicates a functioning thermostat. If the multimeter shows no reading or a very high reading, the thermostat is faulty and needs to be replaced. Repeat the process for each terminal to ensure the entire thermostat is working correctly. After testing, reassemble the access panel and restore power to the heater.
How to Test the Lower Thermostat?
Locating the Lower Thermostat
The lower thermostat is located behind the bottom access panel on the side of the water heater. Use a screwdriver to remove the screws securing the panel. Once the panel is off, you will see the lower thermostat and heating element. Carefully remove any insulation covering the thermostat to gain access. Ensure the power is off before touching any components inside the heater. This step is crucial for your safety and the accuracy of the test. Having clear access to the lower thermostat will make the testing process easier and more efficient.
Steps to Test the Lower Thermostat
Set your digital multimeter to the lowest ohms setting. Place one probe on the terminal where the thermostat connects to the heating element and the other probe on the thermostat’s other terminal. A reading of zero or close to zero indicates the thermostat is functioning correctly. If the multimeter shows no reading or a very high reading, the thermostat is faulty and should be replaced. Test each terminal to ensure the entire thermostat is working properly. Once testing is complete, reassemble the access panel and restore power to the heater. Regular testing helps maintain your water heater’s efficiency.
Interpreting the Results: Is Replacement Needed?
Understanding the Readings
Interpreting the readings from your multimeter is straightforward. A functioning thermostat will show a reading of zero or close to zero, indicating continuity. This means the electrical circuit is complete, and the thermostat is allowing current to flow to the heating element. If your multimeter shows no reading or a very high reading, the thermostat is not functioning properly. This lack of continuity indicates a break in the circuit, meaning the thermostat is not allowing current to flow. Understanding these readings helps you determine if your thermostat is working as it should.
When to Replace the Thermostat
Replace your water heater thermostat if the multimeter shows no reading or a very high reading, indicating a lack of continuity. A faulty thermostat can cause inconsistent water temperatures and higher energy bills. If you experience frequent issues with your water heater, testing the thermostat should be a priority. Regular maintenance and timely replacement of faulty components ensure your water heater operates efficiently. By understanding when to replace the thermostat, you can avoid more significant issues and maintain a consistent hot water supply in your home.
Conclusion
Knowing how to test water heater thermostat is crucial for maintaining an efficient water heating system. Regular testing helps identify issues early, preventing costly repairs and ensuring consistent hot water. By following the simple steps outlined in this guide, you can accurately test both the upper and lower thermostats of your water heater. Use the essential tools and safety precautions to perform the tests effectively. Understanding the readings and knowing when to replace a faulty thermostat will help keep your water heater running smoothly. Regular maintenance ensures your water heater provides reliable and efficient service.
FAQ:
1. How often should I test my water heater thermostat?
It’s recommended to test your water heater thermostat every six months. Regular testing ensures the thermostat functions properly, maintaining consistent water temperatures and efficient energy use. If you notice fluctuating water temperatures or higher energy bills, test the thermostat immediately to identify and address potential issues.
2. What are common signs that my water heater thermostat is faulty?
Common signs of a faulty water heater thermostat include inconsistent water temperatures, no hot water, and higher energy bills. If your water heater frequently trips the circuit breaker, this could also indicate a thermostat issue. Regular testing helps identify these problems early, allowing for timely repairs or replacements.
3. Can I test the thermostat without professional help?
Yes, you can test your water heater thermostat without professional help by following simple steps. Use a screwdriver, digital multimeter, and non-contact voltage tester to safely test the thermostat. Ensure the power is off before starting. Following a detailed guide helps you perform accurate tests, but seek professional help if you’re unsure or uncomfortable.