
Lanyard bracelets are a fun and creative way to express yourself. Not only are they simple to make, but you can also create endless designs by combining different colors and patterns. Whether you’re a beginner or looking to take your skills to the next level, this guide will walk you through everything from the materials you need to advanced techniques that make your bracelets stand out.
What Is a Lanyard Bracelet and Why You Should Make One?
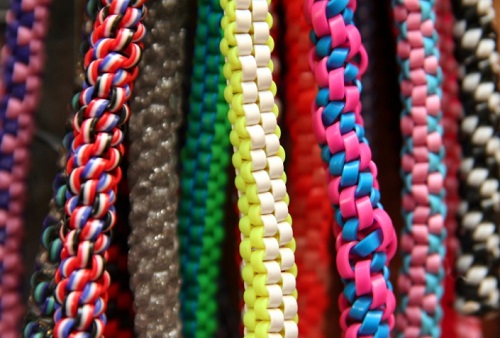
A lanyard bracelet is a type of handmade bracelet often made from plastic lacing or cords. These vibrant accessories are not only stylish but also functional, as they can hold small items like keys or ID cards when transformed into a lanyard.
Why make a lanyard bracelet?
Essential Materials and Tools for Lanyard Bracelet Making
To make a lanyard bracelet, you’ll need just a few basic materials that are easily accessible. Here are the essentials:
Materials:
Tools:
Step-by-Step Guide to Making Your First Lanyard Bracelet
Ready to dive in? Follow these simple steps to create your first lanyard bracelet:
Step 1: Measure and Cut Your Lacing
Start by measuring out your plastic lacing. For a basic bracelet, you’ll need around 4 feet of two different colors. Cut your lacing accordingly.
Step 2: Create a Starting Knot
Align the two pieces of lacing and tie them together with a simple overhand knot, leaving about 2 inches of excess at the end. This will serve as the base of your bracelet.
Step 3: Begin the Box Stitch
The most basic stitch for a lanyard bracelet is the box stitch. Here’s how to do it:
1.Arrange the laces so one color forms vertical strands, and the other color forms horizontal strands.
2.Fold the horizontal laces over the vertical ones to create a loop.
3.Pull the ends of the vertical laces through the horizontal loops, tightening it gently to secure the stitch.
Step 4: Continue Weaving
Repeat the box stitch until the bracelet reaches your desired length. Consistency is key here, so make sure each stitch is tightened evenly.
Step 5: Finish Off Your Bracelet
Once you’ve reached the desired length, tie a secure knot at the end. Trim off any excess lacing. If you’re adding a keychain, this is the time to attach it.
Tips and Techniques for Advanced Designs
Once you’ve mastered the basic box stitch, you can elevate your skills by incorporating more complex patterns and designs. Here are some advanced tips:
Conclusion
Making a lanyard bracelet is not only a fun craft but also a creative way to express your style. With just a few materials, you can create personalized designs, from beginner-friendly box stitches to more advanced patterns like the zipper stitch. Whether you’re making them for yourself or as gifts, the possibilities are endless. So grab some lacing, follow the steps in this guide, and start crafting your own lanyard bracelets today!
FAQs
What is the easiest lanyard stitch?
The easiest lanyard stitch is the box stitch, also known as the square stitch. It’s a basic technique that involves crossing and pulling the laces through loops to create a square-shaped pattern.
What are common lanyard sizes?
Common lanyard bracelet sizes range from 6 to 8 inches for wrist bracelets, while keychain lanyards often measure between 12 to 20 inches. The length will depend on personal preference and the design.
How can I ensure my lanyard bracelet is durable and long-lasting?
To make your lanyard bracelet durable, use high-quality plastic lacing and tighten each stitch evenly. Avoid over-stretching the material and secure the knots well at both ends to prevent unraveling.